
Appearance
Getting started
Customer Voice works best when you start with the workspace template. If you already have an established board workflow, you can also connect it to an existing board.
Workspace template
TIP
This is a recommended path
- Install Customer Voice from the monday.com marketplace.
- Start from the Customer Voice workspace template.
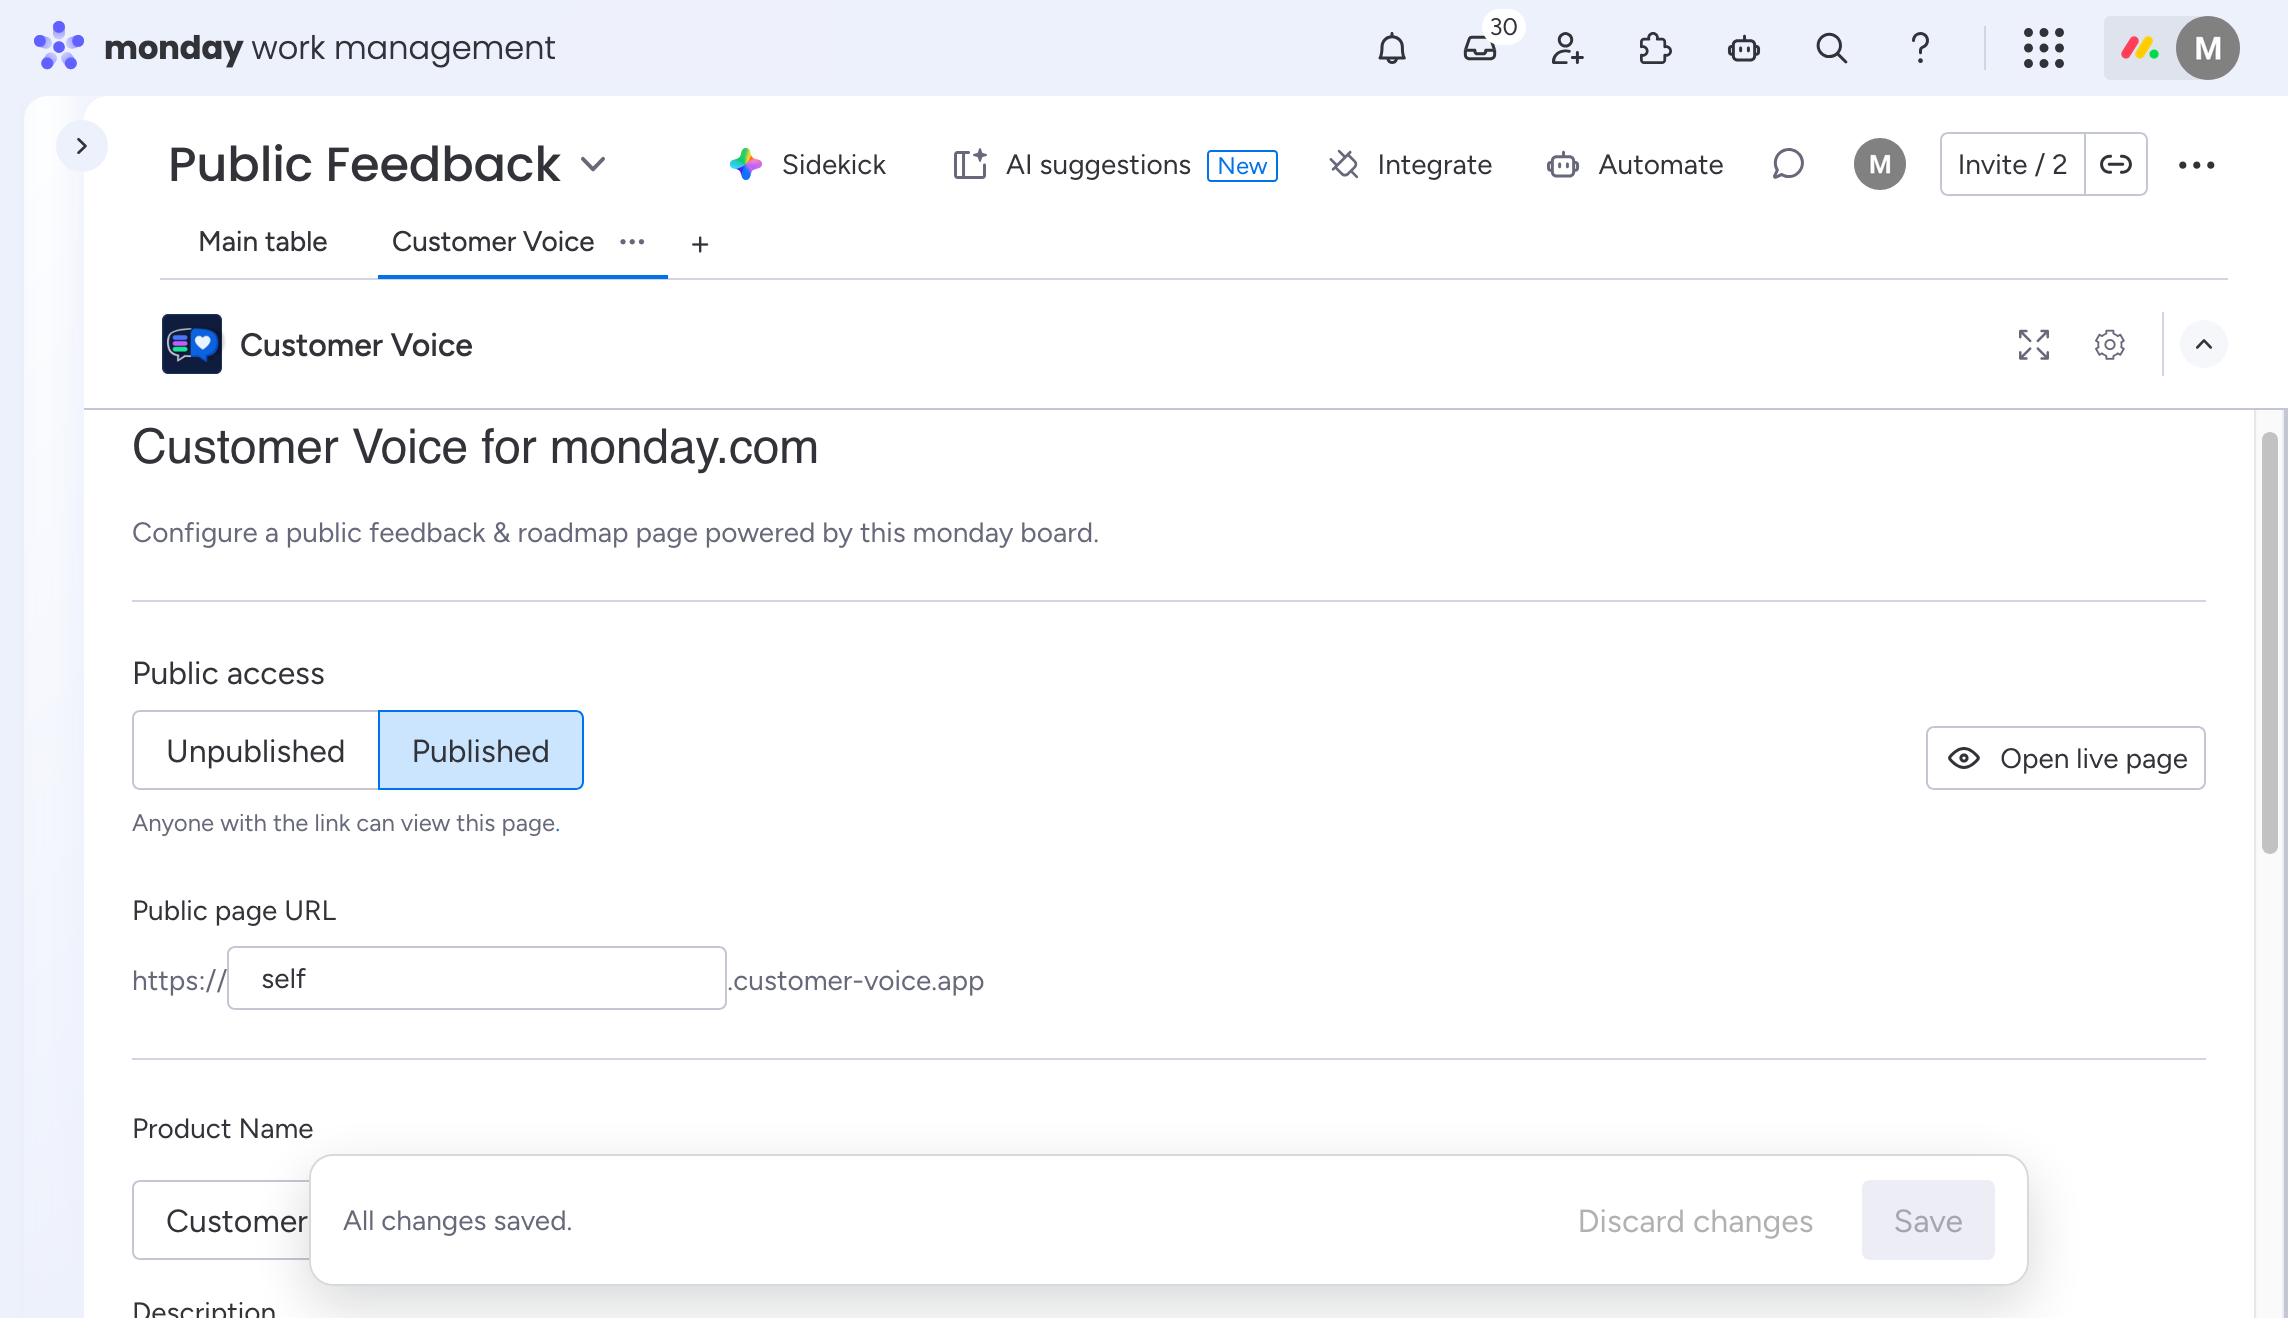
- Open the app view and set your product name, description, logo, public URL slug, workflow, and portal appearance.
- Use Open Preview to validate the page.
- Set Public access to Published and complete OAuth authorization.
- If you are on Pro, you can optionally connect a custom domain later.
Only in Pro plan
Custom domains are available on the Pro plan.
Existing board setup
Use this path if you already have a board process in place and want Customer Voice to fit into it.
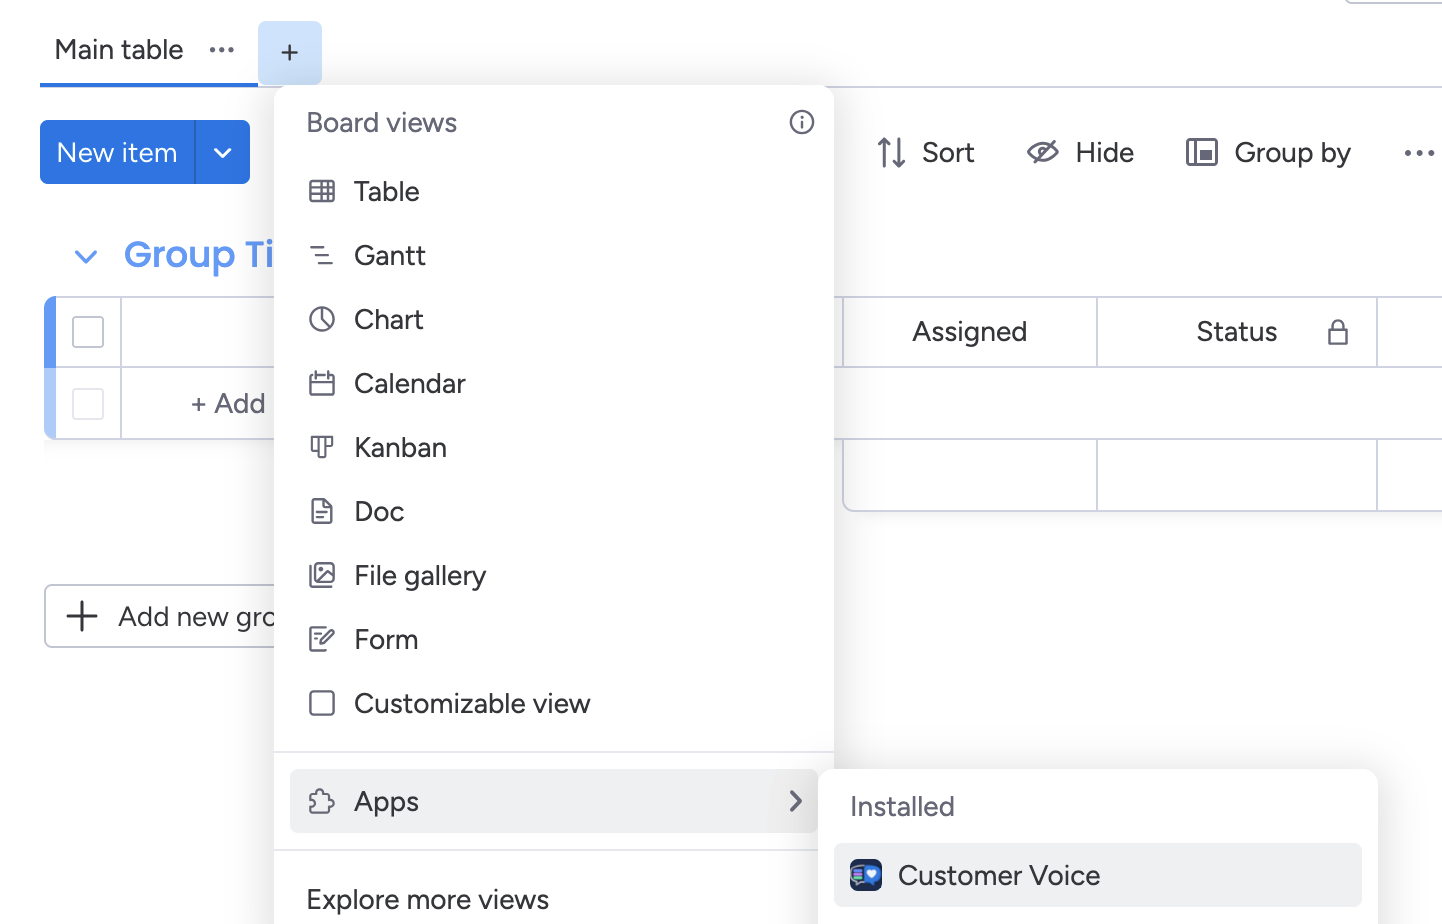
- Install and open Customer Voice on your existing board.
- Use Add missing columns first to create the required structure.
- Verify the final schema includes Status, Votes, Category, Reported By, Date, Planned Date, and Description.
- Configure product details, the public URL, workflow, and portal appearance in app settings.
- Complete OAuth authorization for the board.
- Preview the page, then publish when everything looks right.
- If needed, add a custom domain later on Pro.
Current limitation
The public feedback page currently loads up to 500 ideas from the connected monday board.
If your board has more than 500 items, only the first 500 appear on the public page for now.
Follow the pagination request on the Customer Voice portal.
Next steps
- Read Plans if you want a quick Free vs Pro summary.
- Read Workflow if you want to review ideas before they appear publicly.
- Read Portal appearance if you want to customize the public portal look.
- Read Custom domain if you want to use your own hostname.
- Read Notifications if your team wants internal alerts from monday automations.
- Read Troubleshooting if preview or publishing is not working.